
Before you can configure your inputs and LEDs, the Arduino board must have the OpenSR firmware installed. The wizard simplifies this process by providing specific instructions for your chosen board.
Flashing the Firmware
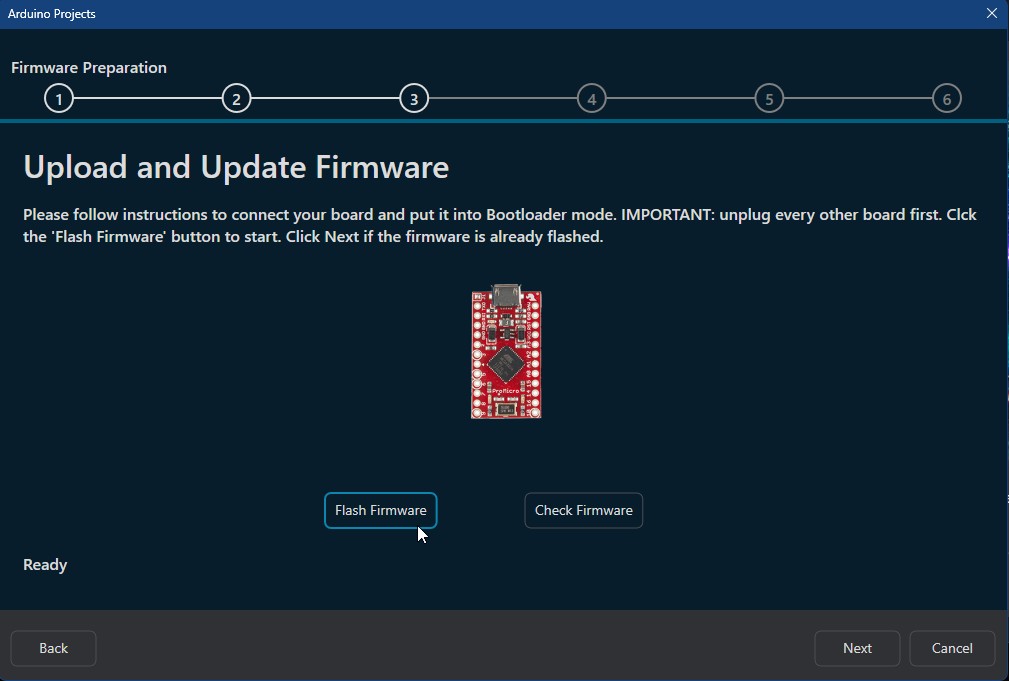
Once you reach this step, the wizard will display the specific procedure for your selected hardware to enter Bootloader Mode.
- Click “Flash Firmware”: This will initiate the upload sequence.
- Follow On-Screen Instructions: Perform the physical actions (such as pressing specific button combinations) required to put your board into bootloader mode as described by the wizard.
- IMPORTANT SAFETY STEP: Before you click the OK button to begin the upload, unplug all other Arduino-based devices from your PC’s USB ports. Having multiple boards connected can cause port conflicts and may result in a failed flash or hardware issues.
- Do Not Disconnect: Once the flashing process begins, ensure the USB cable remains connected until the wizard confirms the upload is complete.
Verifying the Installation
After the wizard confirms that the firmware has been successfully uploaded, you can perform a final check:
- Check Firmware Button: Click this button to perform a quick “handshake” check. This verifies that the board is running the correct firmware version and is ready to communicate with the OpenSR software.
Next Step: Once the firmware is verified, click Next to move on to the LED and Input mapping configuration